There’s nothing that makes a house feel quite like a home than adding special touches that feel uniquely you. And it doesn’t get much more unique than transforming a boring and awkwardly-shaped storage closet into a stylish at-home speakeasy, like LA-based interior decorator and DIYer Mallory Wackerman did.
For those of us with homes that fall on the smaller side, ample closet space is a rarity, so sacrificing crucial square meters for storing coats in order to squeeze in this ingenious home bar idea may seem a little too luxurious. But then again, why not? Ever heard of a coat rack?
See you later Dry January. I’m adding this insane idea straight to my DIY to-do list. To find out exactly how to recreate the look, I spoke to Mallory to get her top tips and tricks for creating your own chic closet speakeasy. Here’s what she shared.
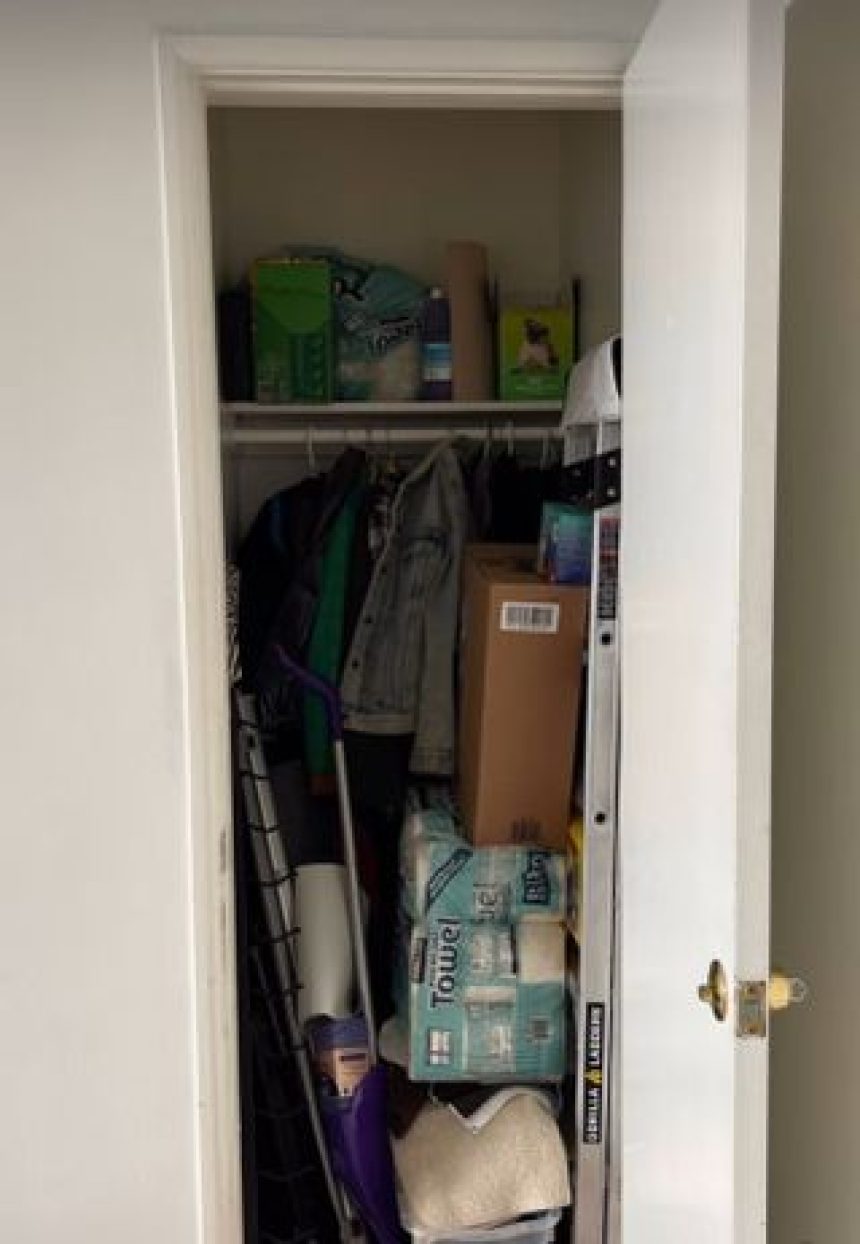
Mallory says the inspiration for this renovation project sparked when she first moved into her new home, and noticed a closet with a deadlock instead of a regular doorknob. “I thought ‘oh, what fun thing is behind here?’,” she says. “I was slightly disappointed when I realized it was just a regular coat closet — but from then on I knew I wanted to do something fun with the space.”
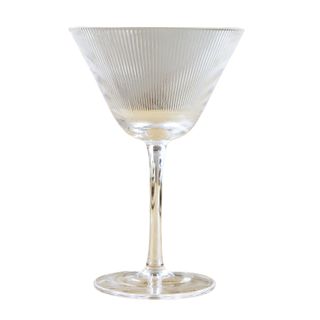
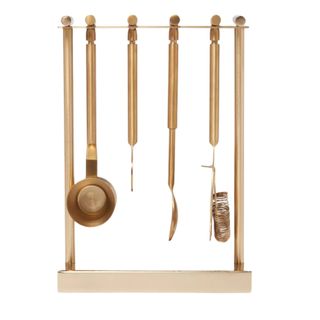
It might not seem like a practical way to make the most of a small closet, the idea actually ended up being a savvy solution to Mallory’s impractically small kitchen. “I quickly ran out of room in my home to store all of my fun cocktail glassware,” she tells me. “That is when I realized the hall closet would be the perfect place to set up a home bar to store alcohol and glassware, and also to get people out of the way in my tiny kitchen when someone is cooking and someone else wants to make a cocktail.”
Creating separate, designated spaces for these separate activities helped to increase the livability of her home design more, and in this case, made it more stylish, too.
The Space Before
(Image credit: Mallory Wackerman)
The Space After
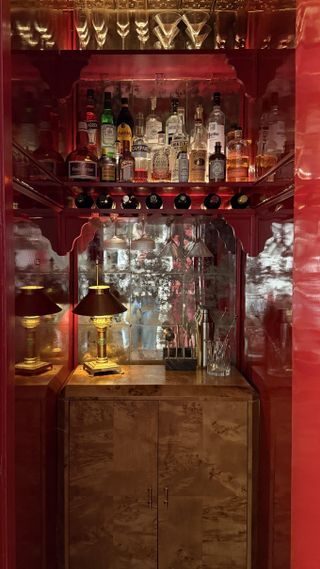
(Image credit: Mallery Wackerman)
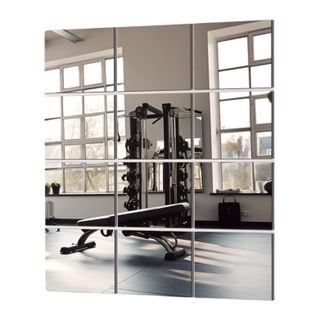
The key to success with this DIY was really thinking creatively about how much space she had, and little ways to make it feel bigger. “The space is small but I wanted it to seem bigger than it is so I knew I needed a lot of reflective surfaces where it made sense,” she explains. The mirrored wall in the back of the closet adds deceptive depth to the space and keeps the design from feeling claustrophobic.
And while it may look like it involved an intense renovation, Mallory says the process only took about two months all up, including the time it took waiting for pieces to arrive. It’s all fairly DIY-friendly, and is perfect is your trying to personalize a rented apartment, she adds. Opting for peel-and-stick mirror tiles and a fabric wallpaper over a glued option means it can easily be removed when she leaves (although we’re not sure any landlord will want to lose this valuable detail!)
“I’ve always been a huge fan of lacquer,” says Mallory, “so when I sampled the patent leather fabric for the walls I knew it would be the perfect renter-friendly solution to get the same high-gloss lacquer wall look without the mess, hassle, and permanence.”
Here are the steps:
- Clear out your closet
- Fix the ‘lacquer’ fabric to the walls with a staple gun
- Install shelving that fits your bottles and glasses
- Install a cabinet of your choice
- Paint the shelving and install a trim to hide the wallpaper seams
- Stick mirror tiles to the back wall, with silver buttons between each
- Spray the mirrors with an ‘antique’ finish
- Add in the decorative ceiling tiles
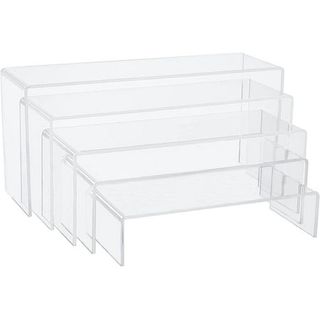
- Add acrylic risers to the shelf to stack bottles (like this riser from Walmart)
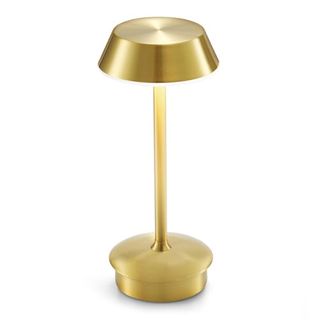
- Add LED lighting (like these from Amazon) to illuminate bottles, or even a portable lamp
Shop the DIY
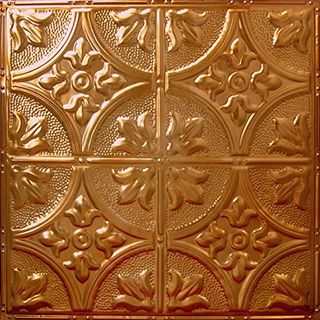
Price: $81.25, Was: $89.99
Size: 5 Pack Kit 24″ X 24″
Covers 20 sq, ft.
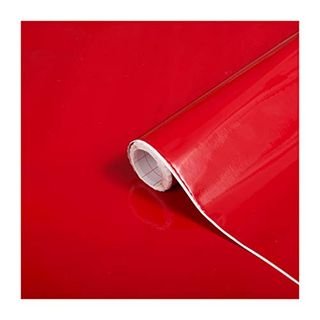
Decorative Self-Adhesive Film, Glossy Red
Price: $18.39, Was: $19.99
Size: 26″ X 78″ Roll
The result of this DIY is a bar space that looks reminiscent of hotel bars and 1920s speakeasies — seriously cool. To finish it off, simply add all your favorite personal touches and you will have created a feature in your home that you and your guest will no doubt enjoy endlessly.
Mallory’s biggest tip is to “be sure to add in lots of lighting (bonus if you already have an outlet or electrical in your closet! I’ve been troubleshooting ways to get an extension cord to run into my cabinet so I can put a mini wine fridge or ice maker in there which would be so helpful!”

(Image credit: Mallory Wackerman)
Now that you know how to get the look, it is time to roll up our sleeves and get DIYing. The only thing left to do — figure out where all your coats will go! These clever IKEA hacks might inspire and idea or two…

