When’s the last time you tested (or replaced) your smoke detector? Can’t remember? Then it sounds like it’s time to give it an inspection.
While smoke detectors are made to last a full decade, it’s important to make sure yours is functioning properly so your home is always safe should a fire break out. The good news is that if you discover it’s time to make a full replacement with a new detector, the process is easy and you can do it yourself!
In this guide, we’re discussing everything you need to know about smoke detector safety, how to choose the best smoke detector for your home, and how to remove your old one to install your new detector.
Why Smoke Detectors Need To Be Replaced
Like most home appliances, smoke detectors need replacing every few years from general wear and tear. Smoke detectors contain sensors that can wear out overtime from dust build up, other particles, and simply working properly. When the sensors start to wear out, your detector becomes less reliable and in order to keep you and your home safe, you want to have a fully functioning smoke detector at all times.
Worn out detectors and technology within the system naturally degrades the longer your detector is in use. When these parts start to degrade, they lose their ability to detect smoke, which then puts you at risk if a fire were to ever start.
When To Replace Your Smoke Detector
Fire professionals recommend you replacing your smoke detector every ten years. Almost all smoke detectors are made with a label that displays when they were made so you can use that as reference for when your detector needs a replacement.
But, just because smoke detectors come with a manufactured date doesn’t mean you should always wait ten years to make a replacement. Sometimes earlier replacement is needed if your detector beings to be faulty.
Here are some signs to look out for that may indicate you should replace your smoke detector earlier than usual:
- Frequent sounds like chirping or beeping.
- A yellow discoloration.
- Not working during tests.
- Causes false alarms.
How To Properly Replace A Smoke Detector
Replace a smoke detector does involve working around electricity and wires already installed from your previous detector, but this is a task you can do yourself. All you need is a screwdriver and your new smoke detector ready to go.
Follow these steps for removing your old detector and installing your new one:
- Turn off the power at your breaker panel.
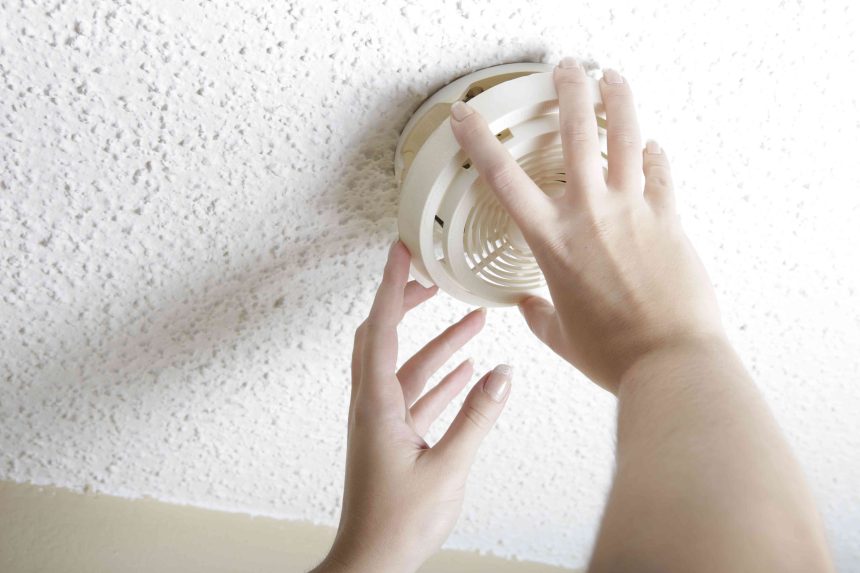
- Twist the current smoke detector counterclockwise until it releases from the plate.
- Disconnect the wiring harness.
- Remove the old baseplate using a screwdriver.
- Connect the wiring harness to your new smoke detector.
- Install the new baseplate using screws and a screwdriver (depending on the new detector’s configuration, you may need to make new holes).
- Twist the new smoke detector into place.
- Remove the battery spacer strip and test your new detector.
Tips For Choosing A New Smoke Detector
When it comes time to choose a new smoke detector, here are some tips to keep in mind so you choose the best one for your home.
- Look for ones that are UL certified.
- Consider dual sensor alarms for ultimate protection.
- Opt for hardwired detectors with battery backup since they’re more reliable.
- Choose a detector with interconnectivity features to alert other detectors in your home.
Maintenance Tips For Smoke Detectors
To keep your smoke detector fully functioning to the best of its ability, here are recommended maintenance practices to follow.
- Test your alarm monthly.
- Replace batteries once every year.
- Make a full replacement every ten years.
- Vacuum out your detector every few months to prevent dust build up.


