If decluttering your junk drawer was a New Year’s resolution you have yet to tackle, consider this your sign to get started. Compared to other home organizing projects like clearing out the garage or sorting through closets, this one requires minimal time and effort while simultaneously offering significant rewards (namely, finding precisely what you need when you need it). So, even if you’ve fallen behind on some of your other goals, successfully organizing your junk drawer can be a quick win, motivating you to tackle the more challenging tasks.
No matter what state your junk drawer is in, you can easily tidy it up with a clear action plan—and with the help of a professional organizer, we’ve put together a foolproof one that’s simple to follow. Keep reading to discover how to finally clean out the clutter, reorganize your junk drawer, and keep it that way year-round.
Step 1: Empty Your Junk Drawer
The first step to conquering chaos is to begin with a blank slate. By removing everything, you can clearly see what you have. This makes it easier to decide what to keep and discard, allowing you to plan a new (and potentially more effective) organizing system.
If you have enough countertop space around the junk drawer, pull everything out and place it nearby. Alternatively, you can remove the drawer and bring it to a larger workspace, like the kitchen island or dining room table. Feel free to lay down some towels to catch debris and protect the surface you’re working on.
Step 2: Clean and Measure the Drawer
Now that the drawer is empty, take the opportunity to clean it thoroughly. Use a handheld vacuum or lint roller to pick up dust, crumbs, hair, and other bits at the bottom or in the corners. Then, tackle any sticky residue or stains before wiping down the interior.
This is also a good time to measure the inside of the drawer. Whether or not you intend to use drawer organizers, it’s helpful to note the height, width, and depth. This way, if you add supplies later or switch them out at some point, you don’t have to pull everything out again. Consider storing the measurements in a note on your phone to eliminate any guesswork if you stumble upon dividers or containers while shopping.
Step 3: Get Rid of Things You Don’t Need
The easiest place to start is with apparent trash, like stray straw wrappers or old receipts. Next, decide what doesn’t need to be kept in the junk drawer because it has a more appropriate spot elsewhere in your home. For example, if you have a tube of lipstick that has been buried in the drawer for months and never use it, move it to your makeup drawer in the bathroom.
If one of your piles contains too many of the same item, like a dozen permanent markers, keep one or two in the drawer and store the rest in your home office or with your craft supplies. Drawer space is limited, so choose what to store wisely and be decisive about what to remove.
Step 4: Sort the Items You’re Keeping
Turning back to your workspace, start grouping similar items, such as batteries in one pile, pens in another, and so on. Chances are, you’ll find duplicates or things that simply don’t belong in the drawer and have contributed to its cluttered condition.
As you’re sorting through the contents, consider what categories or things you’d like to keep in the drawer, and what can be re-homed elsewhere. The following are common junk drawer categories, but embrace the fact that yours should be customized to your household and lifestyle.
- Office supplies like pens, scissors, and stamps
- Small tools like a tape measure, screwdriver, and superglue
- Fast-fix solutions like a stain remover pen, eyeglass repair kit, or anything you might need in the event of a minor emergency while preparing a meal
- Utility items like batteries, a flashlight, and furniture pads
- Electronics like chargers and headphones
- Other essentials like extra sets of keys and spare change
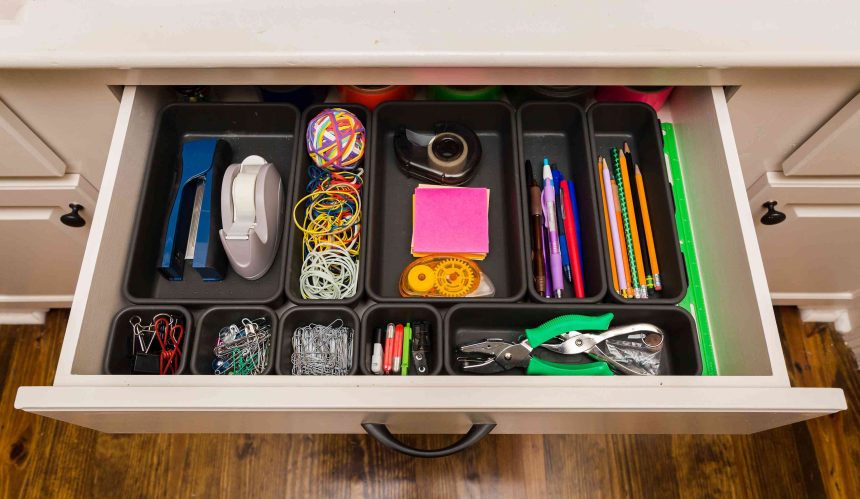
Step 5: Implement Organizing Products
Since most junk drawer items are small, organizers help keep categories in place. You don’t necessarily have to buy new supplies if you prefer to use what you have on hand, like repurposing jewelry boxes or old desk organizers. But if you need to go shopping, simply revisit the measurements taken earlier.
There is a wide variety of drawer organizers to choose from, from shallow containers and expandable trays to vertical dividers and dividers with adjustable compartments. You may even find that using a combination of supplies works best, so experiment with how they fit in the drawer.
Step 6: Reorganize the Drawer
You’ve made it this far, and now comes the fun part. Add the items that made the cut back into the drawer, using organizers as category boundaries. In other words, add office supplies to one section, electronics to another, and so forth. Some trial and error may also be necessary during the step, so don’t hesitate to test out a system for a few days before rearranging things if you think it will work better.
Once satisfied with your newly organized junk drawer, consider adding labels to reinforce the system and encourage every household member to return things to their designated spot.
Step 7: Make a Plan to Maintain a Tidy Junk Drawer
To keep your junk drawer organized, it’s vital to put in some regular effort. Maintaining the drawer ensures it remains functional and prevents it from turning into a stress-inducing mess all over again. Set a reminder to check the drawer every few months to declutter, reassess its contents, and reorganize as needed.